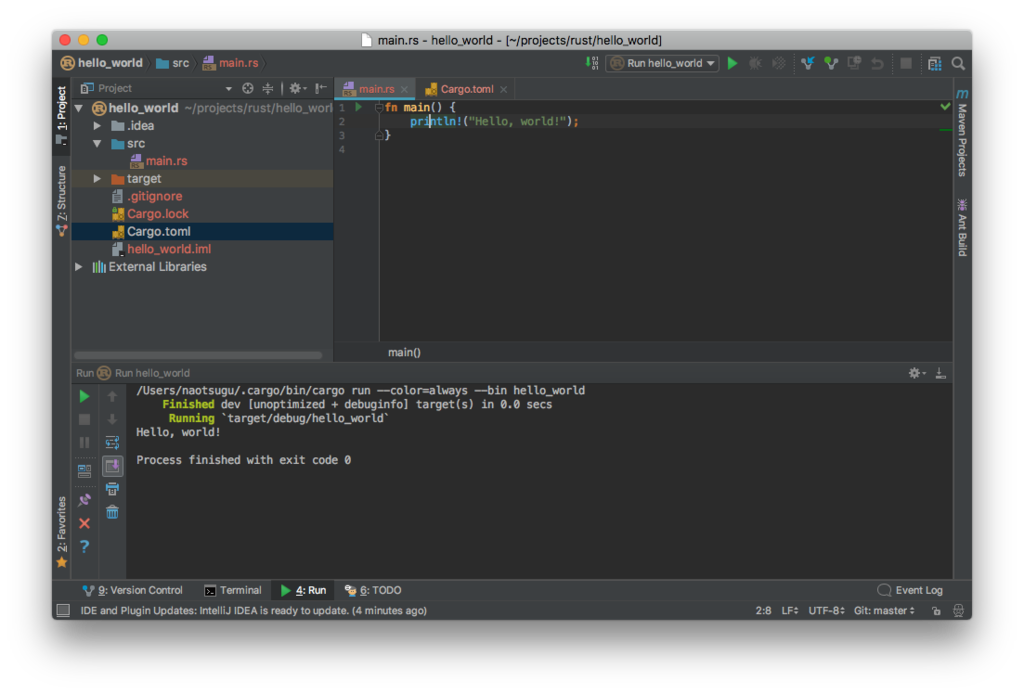
Rust のインストール
brew 使う場合は以下。
$ brew install rust
ただ、公式通り rustup を使った方が複数バージョンの管理できたりするので、以下でインストールする。
$ curl https://sh.rustup.rs -sSf | sh
以下のように表示される。
Welcome to Rust!

This will download and install the official compiler for the Rust programming
language, and its package manager, Cargo.

It will add the cargo, rustc, rustup and other commands to Cargo's bin
directory, located at:

  /Users/xxxxx/.cargo/bin

This path will then be added to your PATH environment variable by modifying the
profile file located at:

  /Users/xxxxx/.profile

You can uninstall at any time with rustup self uninstall and these changes will
be reverted.

Current installation options:

   default host triple: x86_64-apple-darwin
     default toolchain: stable
  modify PATH variable: yes

1) Proceed with installation (default)
2) Customize installation
3) Cancel installation
1 を選択。
info: syncing channel updates for 'stable-x86_64-apple-darwin'
info: latest update on 2017-07-20, rust version 1.19.0 (0ade33941 2017-07-17)
info: downloading component 'rustc'
info: downloading component 'rust-std'
info: downloading component 'cargo'
info: downloading component 'rust-docs'
info: installing component 'rustc'
info: installing component 'rust-std'
info: installing component 'cargo'
info: installing component 'rust-docs'
info: default toolchain set to 'stable'

  stable installed - rustc 1.19.0 (0ade33941 2017-07-17)


Rust is installed now. Great!

To get started you need Cargo's bin directory ($HOME/.cargo/bin) in your PATH
environment variable. Next time you log in this will be done automatically.

To configure your current shell run source $HOME/.cargo/env
こんな感じでインストール完了。
.bash_profile に PATH 追加。
$ echo export PATH='$HOME/.cargo/bin:$PATH' >> ~/.bash_profile
$ source ~/.bash_profile
バージョン確認。
$ rustc --version
rustc 1.19.0 (0ade33941 2017-07-17)
$ cargo --version
cargo 0.20.0 (a60d185c8 2017-07-13)
なお、アンインストールは rustup で以下のようにできる。
$ rustup self uninstall
Hello World
Rust には Cargo というビルドツールが付いている。cargo new でプロジェクトを作成できる。
$ mkdir -p ~/projects/rust/
$ cd ~/projects/rust/
$ cargo new hello_world --bin
--bin オプションで実行可能ファイルを生成するプロジェクトとなる。
作成されるファイルはこんな感じ。
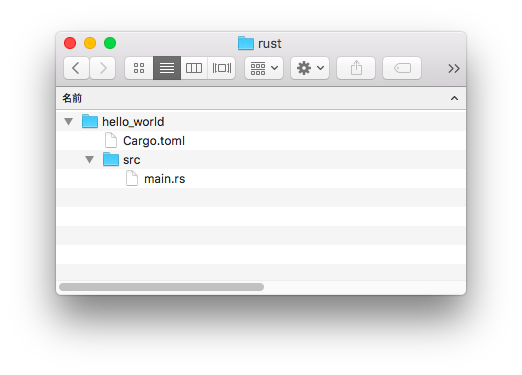
プロジェクトの設定は、Cargo.toml という TOML(Tom's Obvious, Minimal Language) ファイルに定義する。以下のようになっている。
[package]
name = "hello_world"
version = "0.1.0"
authors = ["xxxx <xxxx@example.com>"]

[dependencies]
main.rs は以下のようになっている。
fn main() {
    println!("Hello, world!");
}
ビルドと実行
Cargo でビルドするだけでOK。
$ cd ~/projects/rust/hello_world
$ cargo build
以下のように実行ファイルができる。
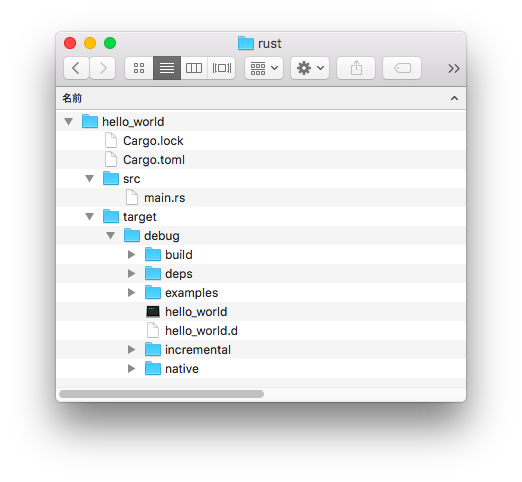
実行。
$ ./target/debug/hello_world
Hello, world!
run でビルドと実行を一発でできる。
$ cargo run
    Finished dev [unoptimized + debuginfo] target(s) in 0.0 secs
     Running `target/debug/hello_world`
Hello, world!
リリースビルドの場合は --release オプションで行う。
$ cargo build --release
IntelliJ Rust
アルファ版だがプラグインがあるのでインストール。
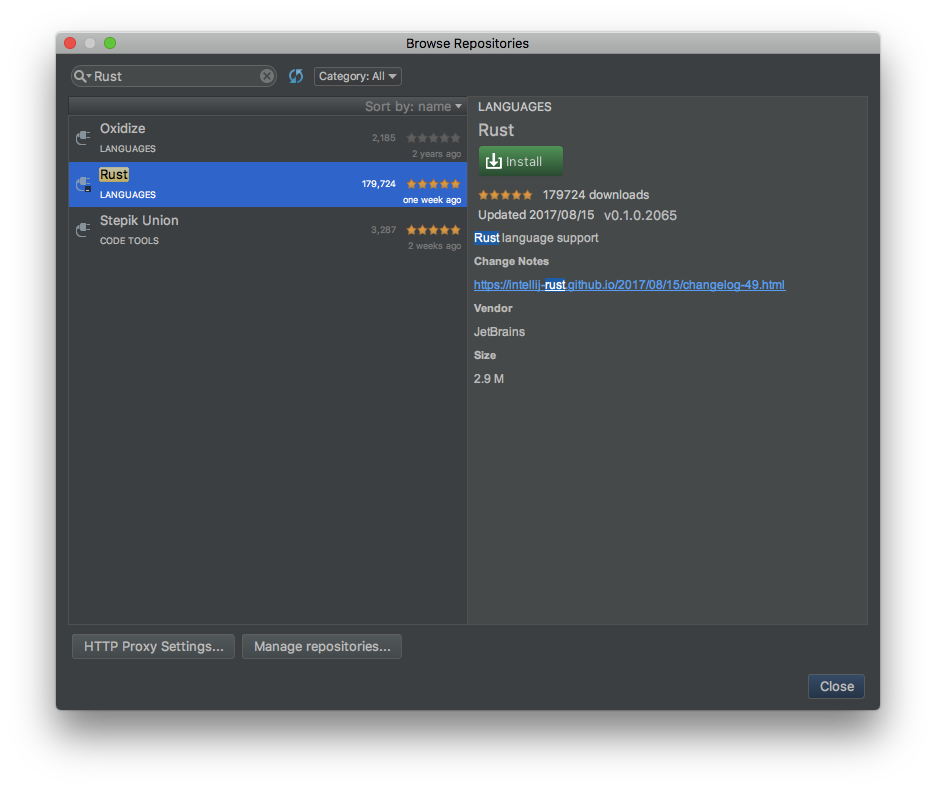
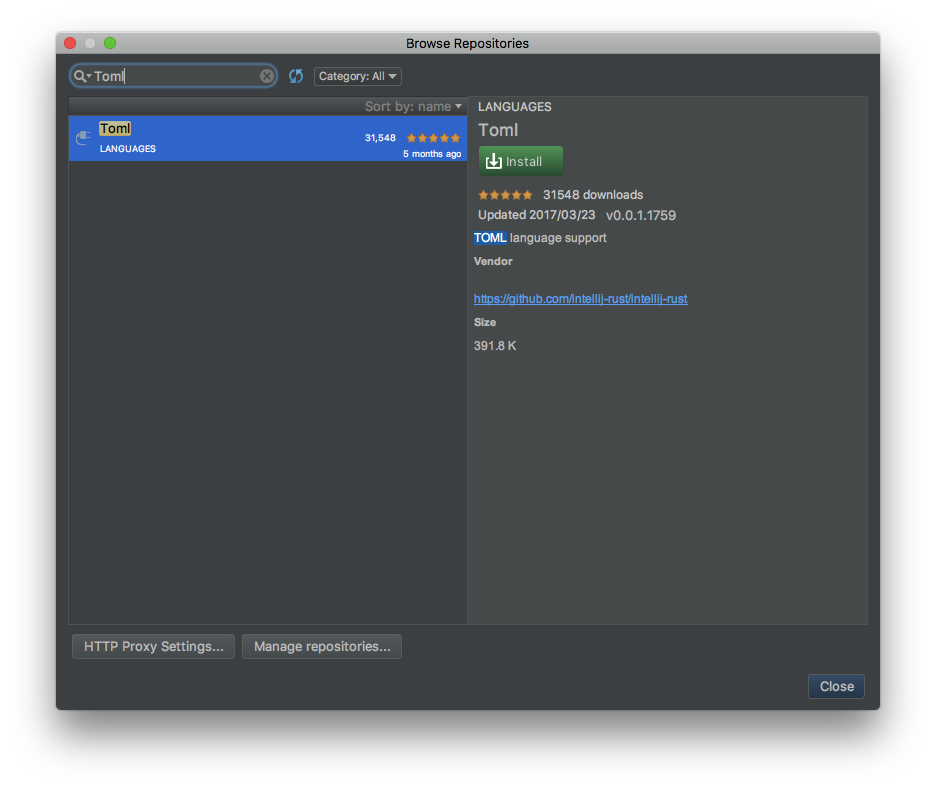
Toml のプラグインもインストール。
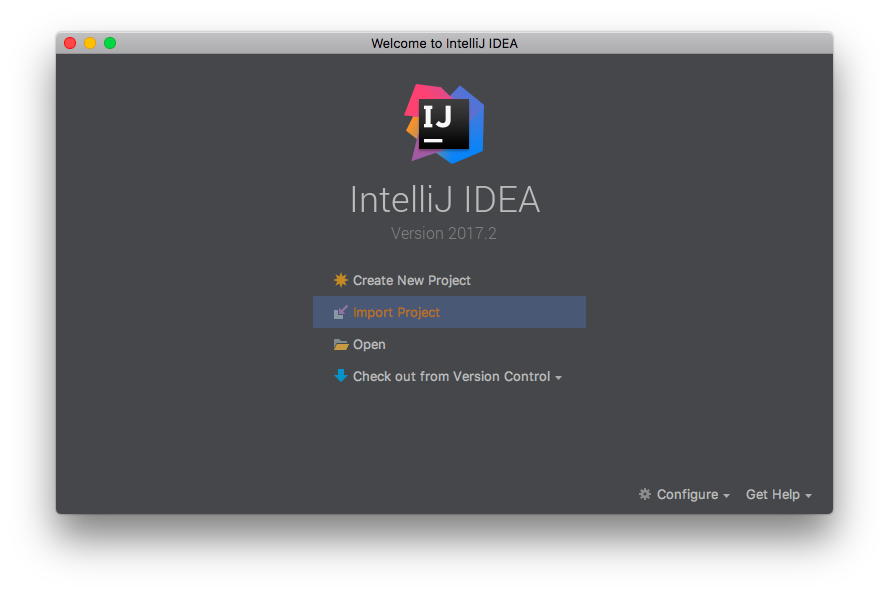
インストール後は再起動してから Import Project
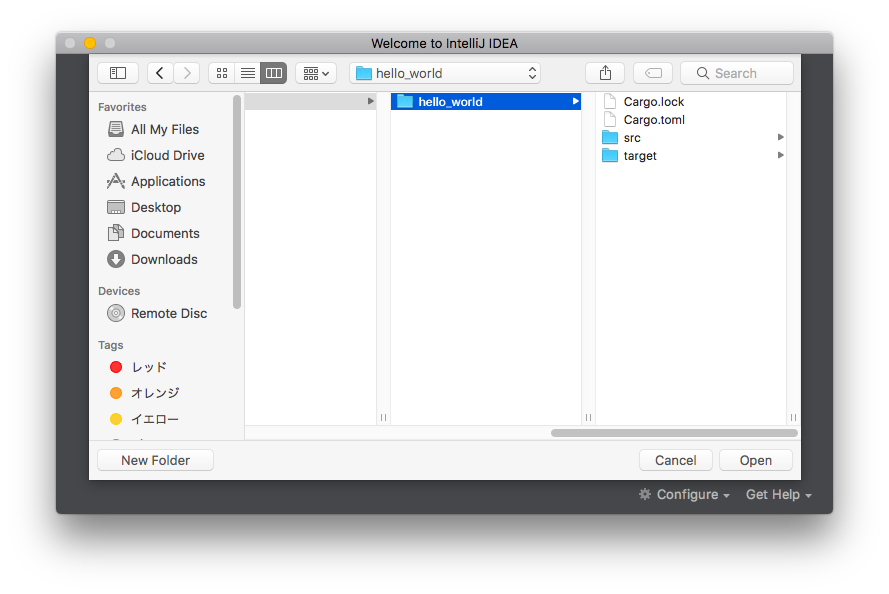
toml のあるフォルダを選択
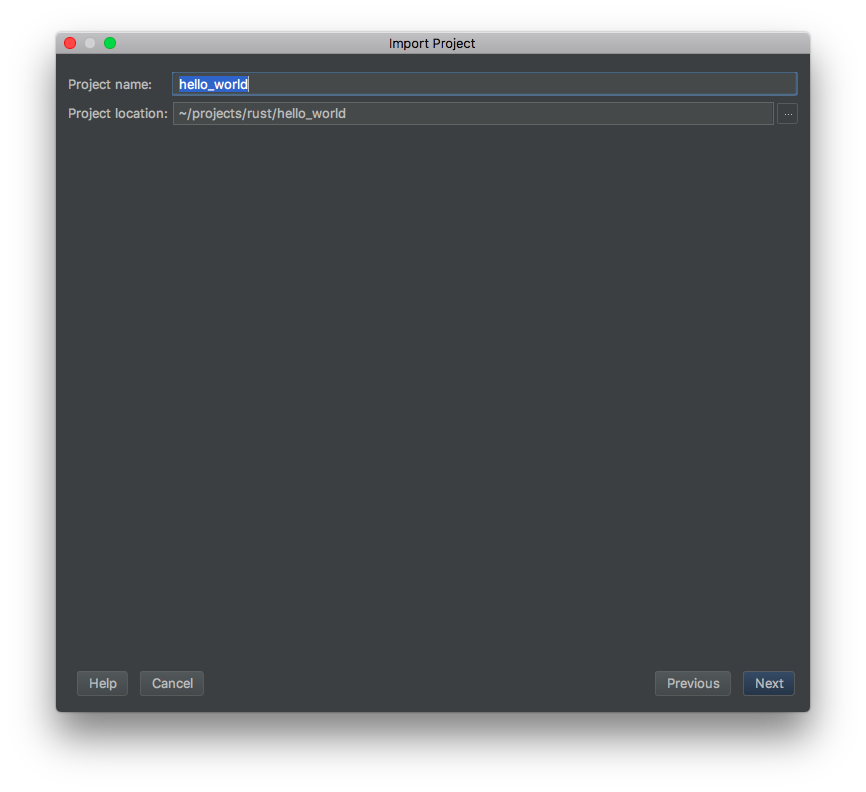
そのまま次へ
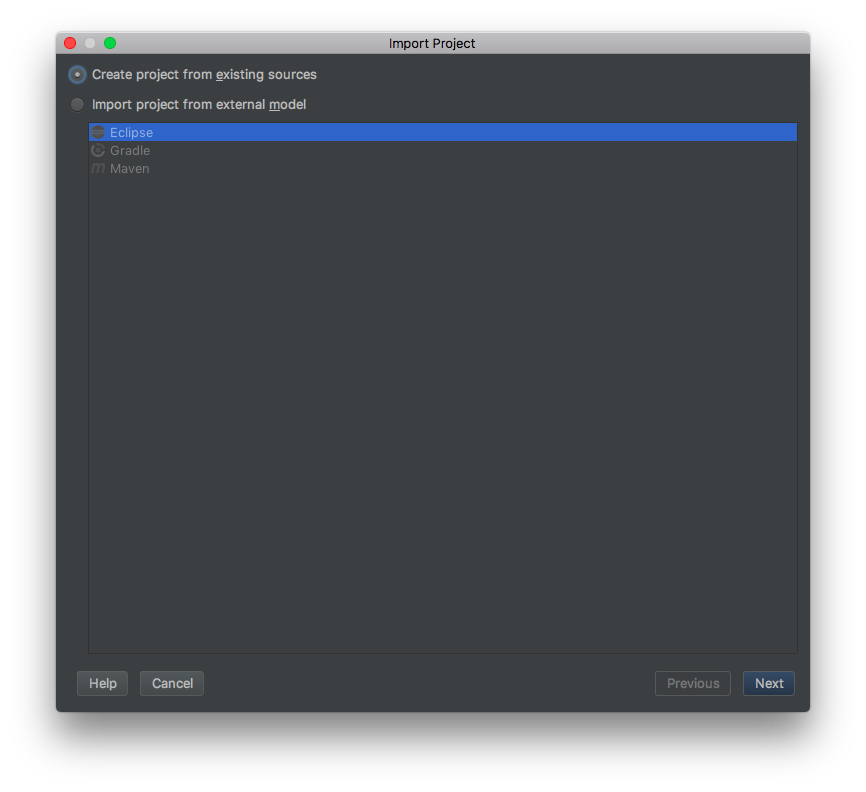
そのまま次へ
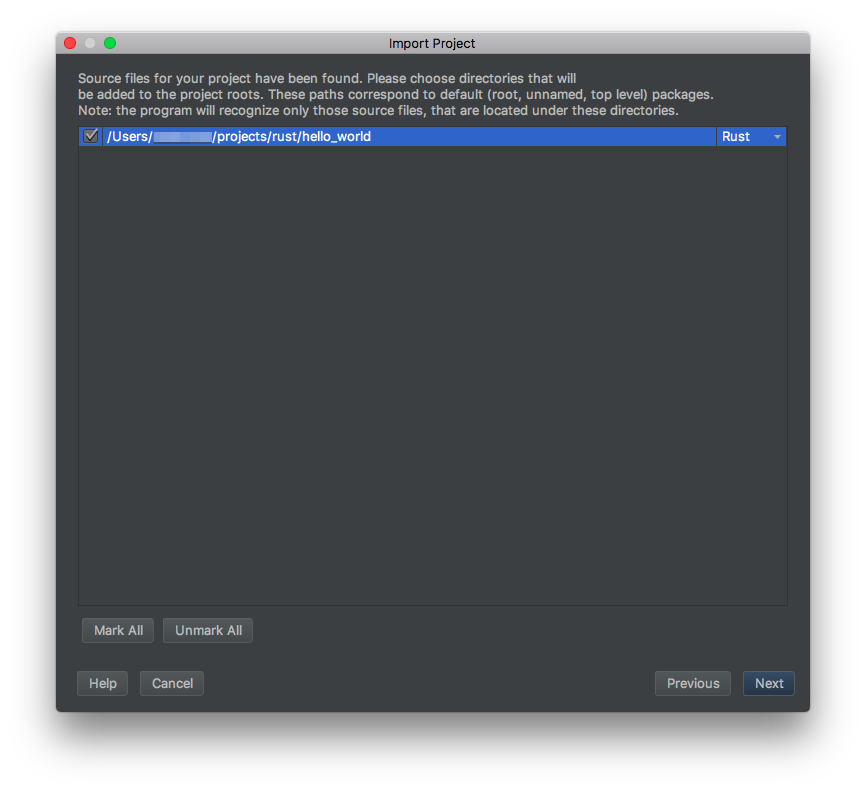
Rust を選択
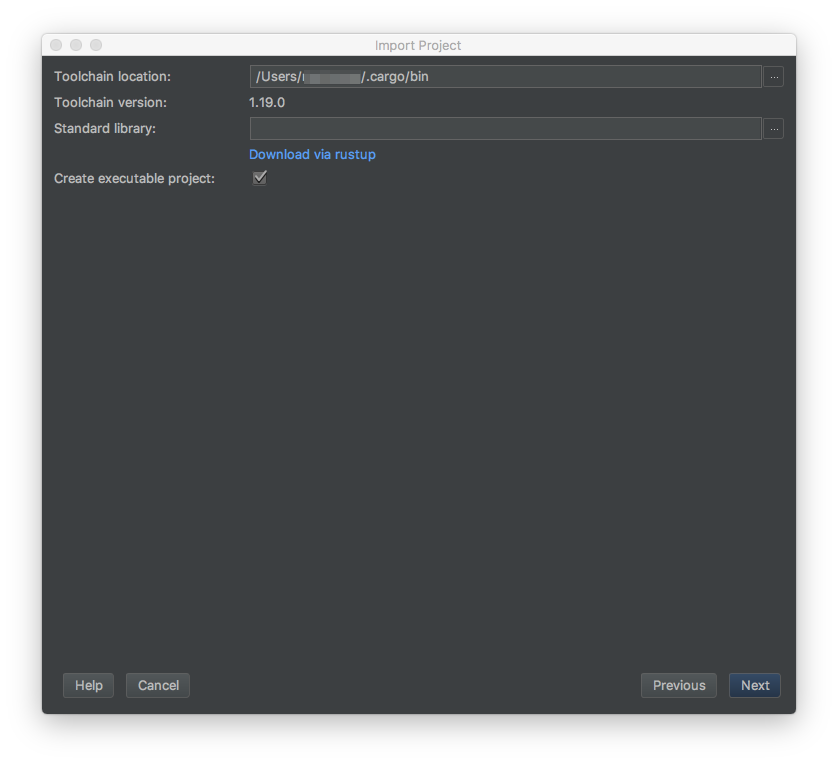
そのまま次へ
シンタックスハイライトや補完も十分!
