では Spring Roo を使って単純なアプリケーションを作成しました。ここでは Spring Roo による Selenium テストについて見ていきます。
前回の状態より、以下のコマンドで RsvpController の Seleniumテストを作成します。
roo> new selenium test -controller com.wedding.web.RsvpController
Created SRC_MAIN_WEBAPP\selenium
Created SRC_MAIN_WEBAPP\selenium\test-rsvp.xhtml
Created SRC_MAIN_WEBAPP\selenium\test-suite.xhtml
Managed SRC_MAIN_WEBAPP\WEB-INF\jsp\menu.jsp
Managed ROOT\pom.xml
Tomcatを起動します。
roo> quit
$ mvn tomcat:run
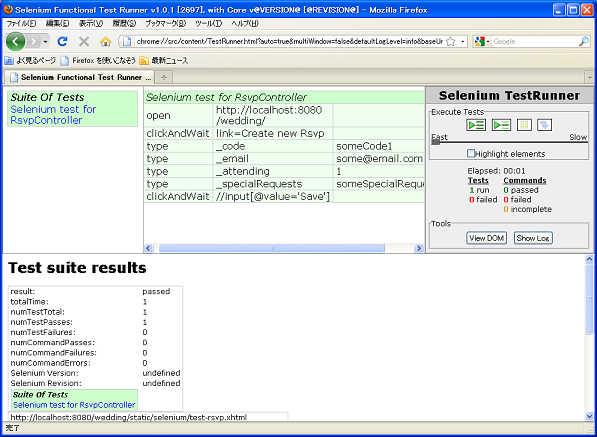
Tomcatを起動したまで、別のコマンドプロンプトより Selenium テストを実行します。
$ mvn selenium:selenese
テストケース用のxhtmlファイルはwedding\src\main\webapp\seleniumに収められています。
続いて
では、STSを導入します。
